
How To Hang Contract Wallpaper

Commercial-grade, contract wallpaper is the ideal choice for high traffic areas like hospitals, hotels, offices, and retail spaces. It’s loved by interior designers and builders because it’s durable and low-maintinence, and can even offer an extra layer of fire-resistance and sound insulation. Because it’s often heavier and thicker than residential wallpaper, it can require a little extra effort to hang. But don’t worry – it’s completely doable.
In this guide, we’re walking you through how to hang contract wallpaper step by step, offering helpful tips and suggestions throughout.
Special Considerations for Installing Contract Wallpaper
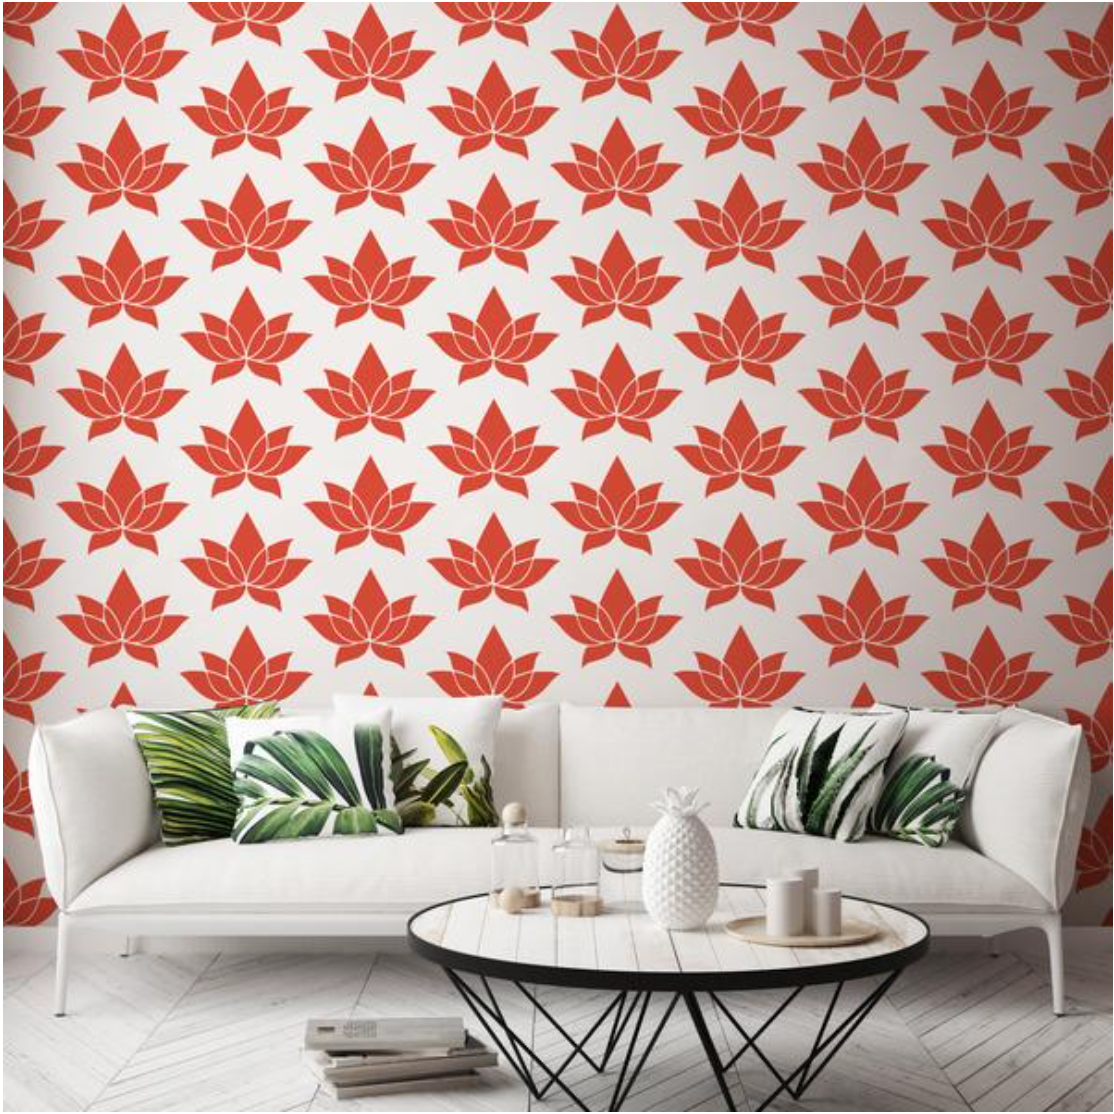
Because it’s made for durability and safety, many people think commercial-grade wallpaper is less decorative and more standardized – but this is a myth. In fact, contract wallpaper designs are as varied and elegant as residential and peel-and-stick options.
Here are a few things to keep in mind when preparing to hang contract wallpaper:
- Wall preparation: Make sure your walls are clean and free from any dirt, grease, chips, holes, or old wallpaper remnants. Use a wallpaper primer for best results.
- Type of adhesive: Due to its size and weight, contract wallpaper should be hung with heavy-duty vinyl adhesive. Read the manufacturer’s instructions to ensure you’re using the right adhesive.
- Measurement: Because contract wallpaper generally comes in larger sheets, inaccurate measurements can lead to additional wasted product.
- Cutting: Commercial wallpapers are usually thicker than residential ones. Make sure you use a sharp utility knife and double-cut the paper if necessary to ensure clean lines.
- Assistance: Due to the added weight, it’s often easier to hang contract wallpaper with a helper, especially if you’re standing on ladders or applying ceiling wallpaper and working above your head.

Steps To Hang Contract Wallpaper
1: Gather Your Supplies
Here’s what you’ll need for a DIY wallpaper project using contract wallpaper:
- Drop cloths
- Contract wallpaper rolls (follow our guide on how to measure for wallpaper to figure out how much you’ll need)
- Wallpaper adhesive (choose a heavy-duty paste for commercial wallpaper)
- Measuring tape
- Level or plumb line
- Sharp utility knife
- Smoothing brush or plastic wallpaper smoother
- Seam roller
- Sponge and clean water
2. Prep the Room
Start by pushing furniture away from the walls and removing light switches, electric wall plates, and wall-mounted light fixtures. Then cover the floor surface and any remaining furnishings with drop cloths. Also cover any objects still attached to the walls in order to keep them clean.
Make sure there’s adequate ventilation in your space to ensure an appropriate temperature and humidity level for drying.
3. Prep the Walls
Clean your walls thoroughly to remove any dirt, grime, or grease. Make sure you repair damage and fill any holes or cracks. If necessary, use sandpaper to smooth textured walls before applying wallpaper.
Consider also using a dedicated wallpaper primer before you hang contract wallpaper to ensure proper adhesion and help prevent any bubbling or peeling.
4. Measure and Cut the Wallpaper
Carefully measure the height of the wall in the area where you plan to start the installation. Add a few extra inches to that measurement for the wallpaper strip to account for adjustments. Then, using a straight-edged, sharp utility knife, cut the wallpaper to size.
When cutting sections of wallpaper, slow and steady wins the race. Make sure, for each piece that you measure and cut, you ensure proper pattern alignment with the previous piece. It’s best to cut and hang one strip at a time to match the pattern accurately and avoid wasting wallpaper.
5. Apply the Adhesive
Because type II vinyl contract wallpaper is typically thicker and heavier than traditional or peel and stick wallpaper, it’s especially important to choose the right adhesive. Follow the manufacturer’s guidance and follow all the directions carefully.
There are two different methods of applying wallpaper adhesive, depending on the wallpaper you’re using:
-
If you’re using paste-the-wall wallpaper: Using a roller or brush, apply the adhesive directly to the wall.
-
If you’re using paste-the-paper wallpaper: Spread the adhesive all over the back of the wallpaper, and let it rest for a few minutes before hanging.
6. Hang the Wallpaper
Starting from a corner or a plumbed straight line, apply the first strip of wallpaper at the top of the wall and smooth it down with a smoothing brush or plastic wallpaper smoother in order to remove any air bubbles or unevenness.
As you work, make sure you align each edge carefully with the adjacent strips in order to avoid any gaps or overlapping areas. Make sure the wallpaper pattern matches perfectly for a seamless look.
7. Trim and Smooth the Edges
Using your sharp utility knife, trim any excess wallpaper at the ceiling and baseboard. Use a seam roller to firmly press down the edges and ensure proper adhesion to the wall. Then wipe off any excess paste with a damp sponge.
8. Let It Dry Completely
Allow the wallpaper to dry for at least 24 hours prior to touching the wall, reattaching light switches and electric plates, or adding any decorations.

Shop Contract Wallpaper and Choose From Premium Type II Vinyl Wallpaper Designs
Wallpaper is one of the most powerful elements of both residential and commercial interior design. It can transform a plain wall into a work of art. With Mitchell Black’s wide array of high-quality contract wallpapers, you can take advantage of the expert craftsmanship and durability of commercial-grade wallpaper without sacrificing even an inch of style.
Elevate your design with our stunning contract type II vinyl wallpaper and achieve the perfect combination of function and form. Have questions for us? Don’t hesitate to contact us or schedule a complementary session with one of our design experts through our concierge service.


Leave a comment