How To Smooth Textured Walls Before Applying Wallpaper
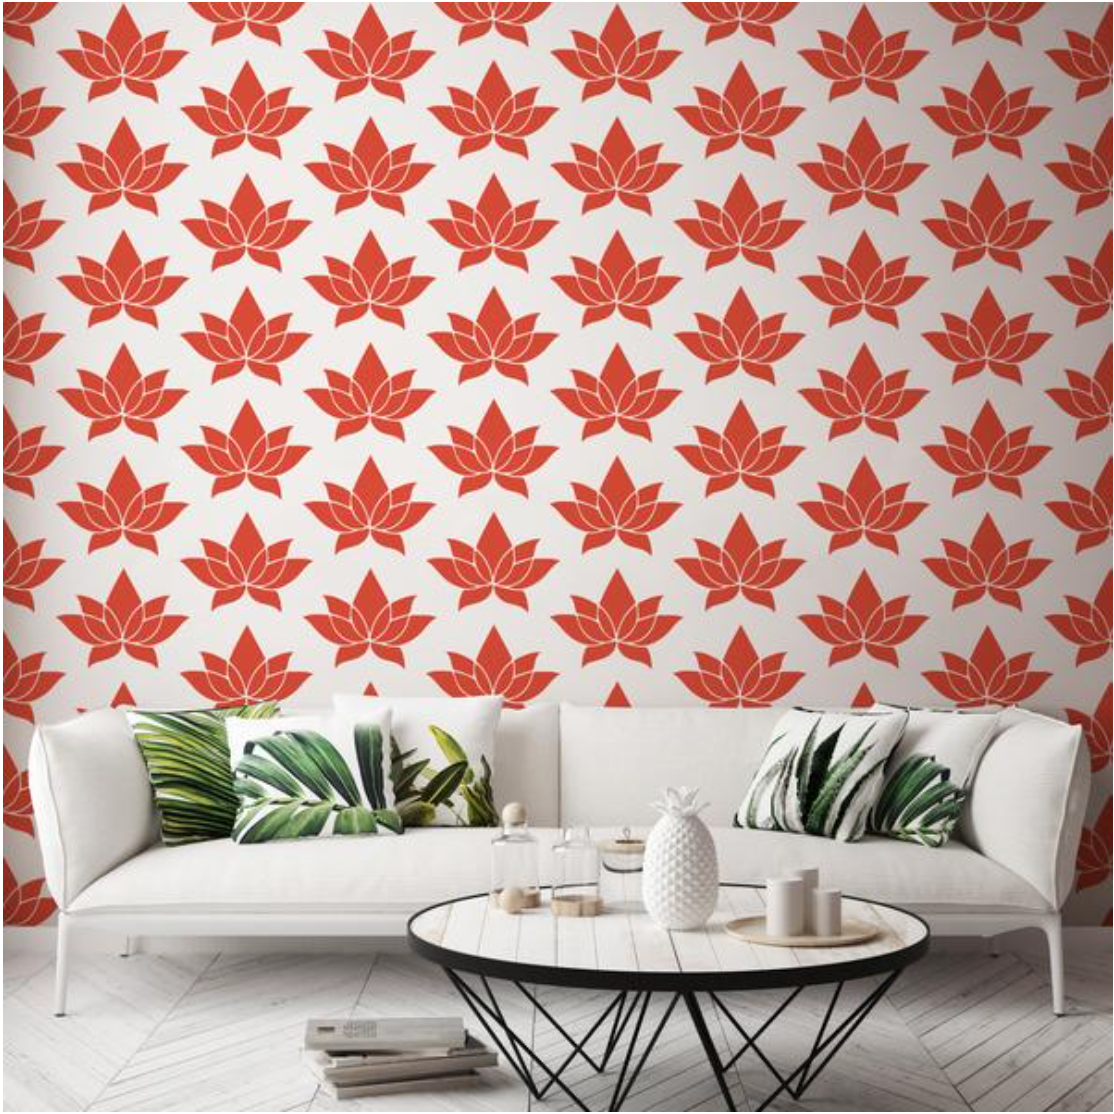
Few design elements can transform an interior space like wallpaper. With so many patterns, styles, and materials to choose from, the possibilities are virtually endless. Applying wallpaper is easier than ever, especially with ultra-convenient peel and stick options. However, textured walls can present challenges when it comes to the wallpapering process.
Wallpapering textured walls can require a bit of extra preparation to ensure the wallpaper applies smoothly and evenly. Because textured walls have grooves and ridges to consider, simply installing wallpaper without smoothing the surface can lead to uneven application, pattern distortion, poor adhesion, and increased moisture risk.
Fortunately, with a little work, you can still wallpaper a textured wall. Keep reading to discover our simple, step-by-step guide for smoothing out textured walls.
Tools and Supplies
Before you begin smoothing out your walls, it’s a good idea to make sure you have all the tools you’ll need throughout the process.
Here’s a list of supplies:
- Drop cloths
- Safety gear (mask, goggles, gloves)
- Sandpaper (fine and medium grit)
- Pole sander or power sander (optional)
- Skim coat or joint compound
- Drywall knife or putty knife
- Wallpaper primer and painting supplies (optional)
How to Smooth a Textured Wall
1. Evaluate the Amount of Texture
If your walls only have light texture, you may be able to simply sand it down. Heavily textured walls, like popcorn or knockdown texture, generally require a more thorough process, which involves using a joint compound or skim coating.
2. Consider Testing for Environmental Hazards
If you live in an older home, it may be worth getting your walls tested for the presence of asbestos and lead before you begin sanding or preparing your walls for skim coating. These materials were frequently used in the manufacturing of wall-surface texture products and paints prior to the 1980s.
When you sand or otherwise disturb wall texture that contains asbestos or lead, it releases small particles into the air. Inhaling these substances can lead to health problems like asbestosis and lead poisoning.
Testing for asbestos and lead can protect your health, and it’s relatively simple to do. Simply buy a DIY kit at your local hardware store or get a sample of your wall texture professionally tested by an environmental lab in your area.
3. Prepare Your Room and Protect Surfaces
It’s important to protect your floors, furnishings, and finishes from dust and debris before you begin. Use a drop cloth or plastic sheeting to protect floors. Then remove outlet and switch covers and protect or remove light fixtures.
It’s also important to open windows, run fans, and/or wear a mask over your mouth and nose to avoid inhaling dust and debris while you work. Goggles can also help protect your eyes. Make sure you wear clothes you’re not concerned about. Although not necessary, you may also want to wear gloves to protect your hands.
4. Soften or Remove Texture, If Necessary
If you’re dealing with a lot of texture, you may want to spray your walls lightly with water to soften them. You can do this with a garden sprayer or spray bottle. Let the water sit for a few minutes, then use a large drywall knife, putty knife, or scraper to remove the texture from your walls.
5. Lightly Sand the Walls
You can use a pole sander or power sander if you want to speed up the process, but you can also do this manually. Using a medium-grit sandpaper, focus on areas that are especially pointy or sharp, and lightly sand away the top layer of texture. After sanding, use a damp cloth to wipe away the remaining dust and debris from the walls and leave them to dry completely.
6. Apply Joint Compound (Skim Coating)
You can make your own solution or buy pre-mixed joint compound at local hardware stores and major home-improvement chains. Make sure you stir the product together thoroughly and ensure there are no lumps in the mixture.
Apply a thin, even layer of joint compound to your walls using a large drywall knife or trowel. For most walls, you’ll want to achieve a thickness of about ⅛ of an inch. Use smooth, long strokes for even coverage, and avoid putting too much product on the knife at once. Start slow, and speed up once you get the hang of it.
Allow the finished coat to dry completely. This may take just a few hours, but it’s generally advisable to wait overnight before you proceed.
7. Sand Uneven Areas
Use a fine-grit sandpaper to smooth out any remaining ridges, bumps, or texture poking through the layer of dried joint compound. Then wipe your walls using a damp cloth to remove any remaining dust or debris.
8. Consider Applying a Wallpaper Primer
While it isn’t always necessary to use a primer before you apply wallpaper, it can help further smooth out any remaining unevenness and improve adhesion. It can also offer extra protection for your walls, help prevent stains and moisture damage, and make removing wallpaper easier down the line.
Ready To Revamp Your Space?
The process of redecorating your home can feel a bit daunting. With so many styles, features, and options to choose from, it can be difficult to know where to start. Fortunately, there are a number of small changes that can make a big impact.
Wallpaper is one of the simplest, yet most transformative elements you can use to make your home truly feel like a reflection of you. With a variety of patterns, materials, and visual styles to choose from, you're sure to find a wallpaper that speaks to your personal tastes.
At Mitchell Black, wallpaper is our passion. No matter your needs, preferences, or goals, our expansive wallpaper collection is the perfect place to start your interior design journey.


Leave a comment