
How To Remove Wallpaper

Revamping your space? Ready to switch out your old wallpaper for a new design? The first step in preparing your walls for a fresh new look is to remove the previous wallpaper.
It’s important to be careful when removing wallpaper so you don’t cause any damage to the underlying drywall. After all, you want to have a smooth, solid canvas to work with when you apply your new wallpaper or paint. Like measuring for wallpaper, it’s important to take your time with this process to achieve the best result.
In this comprehensive guide, we’ll explain how to remove wallpaper safely and effectively so you can get started on the fun part and choose a new wallpaper for your kitchen, bathroom or other space!
Tools and Supplies
- Drop cloths
- Painter’s tape
- Wallpaper scoring tool
- Wallpaper scraper or putty knife
- Wallpaper removal solution (or a DIY mixture of water and vinegar)
- Bucket
- Sponge or washcloth
- Wallpaper steamer (optional)
Steps To Remove Wallpaper

1. Prepare the Area
Removing wallpaper usually comes with a certain amount of mess, especially once you start applying your liquid solution. Before you start the process, you’ll want to protect your floors and any nearby electrical outlets on the wall.
Simply place a drop cloth on the floor and secure it with some painter’s tape. You can then use any leftover tape to cover outlets. You may also want to turn off the electrical power to the area to be extra safe.
2. Test a Small Section
Before you try to tackle an entire wall, it’s best to test your wallpaper removal process on a small, inconspicuous area. For example, you might try removing a square foot of the wallpaper that’s usually hidden behind a cabinet or armchair.
Some types of wallpaper are more difficult to remove than others. Removable peel and stick wallpaper varieties have a self-adhesive backing. They’re designed to be easier to apply and remove without the need for paste or glue.
3. Score the Wallpaper
Whether your wallpaper is secured with a paste or glue, you’ll need to use a liquid solution to reactivate the adhesive and separate the paper from the wall. But in order to ensure the solution reaches the adhesive, you need to score it.
To score your wallpaper, run a scoring tool along the wall. This will puncture tiny holes throughout the wallpaper so your solution can reach the adhesive and reactivate it. Be sure to run the scoring tool along the entire wall surface using light pressure. Too much force may damage the wall.
4. OPTIONAL: Use a Wallpaper Steamer
Easier-to-remove wallpapers don’t generally require steaming. If your test section was relatively easy to remove, you can skip this step. But for stubborn areas of wallpaper, you can rent or buy a steamer.
Wallpaper steamers are special tools that use hot steam to soften the wallpaper’s adhesive, making it much easier to scrape off.
5. Apply the Wallpaper Removal Solution
Letting the wallpaper soak in your removal solution is one of the most important steps. Mix your wallpaper removal solution according to the product instructions, or make your own by mixing together equal parts warm water and vinegar in a bucket.
Using a sponge or washcloth, apply the removal solution liberally on the section of wallpaper you’re working on, ensuring it’s fully saturated. Then, let the solution soak for 10-15 minutes before you begin scraping.
6. Scrape Off the Wallpaper
Using a wallpaper scraper or putty knife, start gently peeling the wallpaper away from the wall. For each section you remove, start at the bottom or at an area where the paper has already started to peel. Then slowly work your way up.
It’s important to be careful during this process to avoid damaging the drywall underneath. If the wallpaper doesn’t peel easily, soak that section in the removal solution again and then try peeling a second time.
7. Remove Any Remaining Adhesive
Once you’ve removed the wallpaper, you may notice some leftover adhesive. To get rid of the remaining adhesive, simply reapply the removal solution, let it sit for several minutes, and then use the scraper to gently remove it.
8. Repair Any Areas of Damage Before Painting or Re-Wallpapering
Now that you’ve removed the wallpaper, you can start preparing the wall for painting or re-wallpapering. To do this, you’ll need to clean the wall and repair any damage. Inspect the area closely and fill any holes with spackle or another putty or paste. Once the putty is fully dry, you can use sandpaper to smooth out the area.
Ready To Refresh Your Space With a New Wallpaper Design?

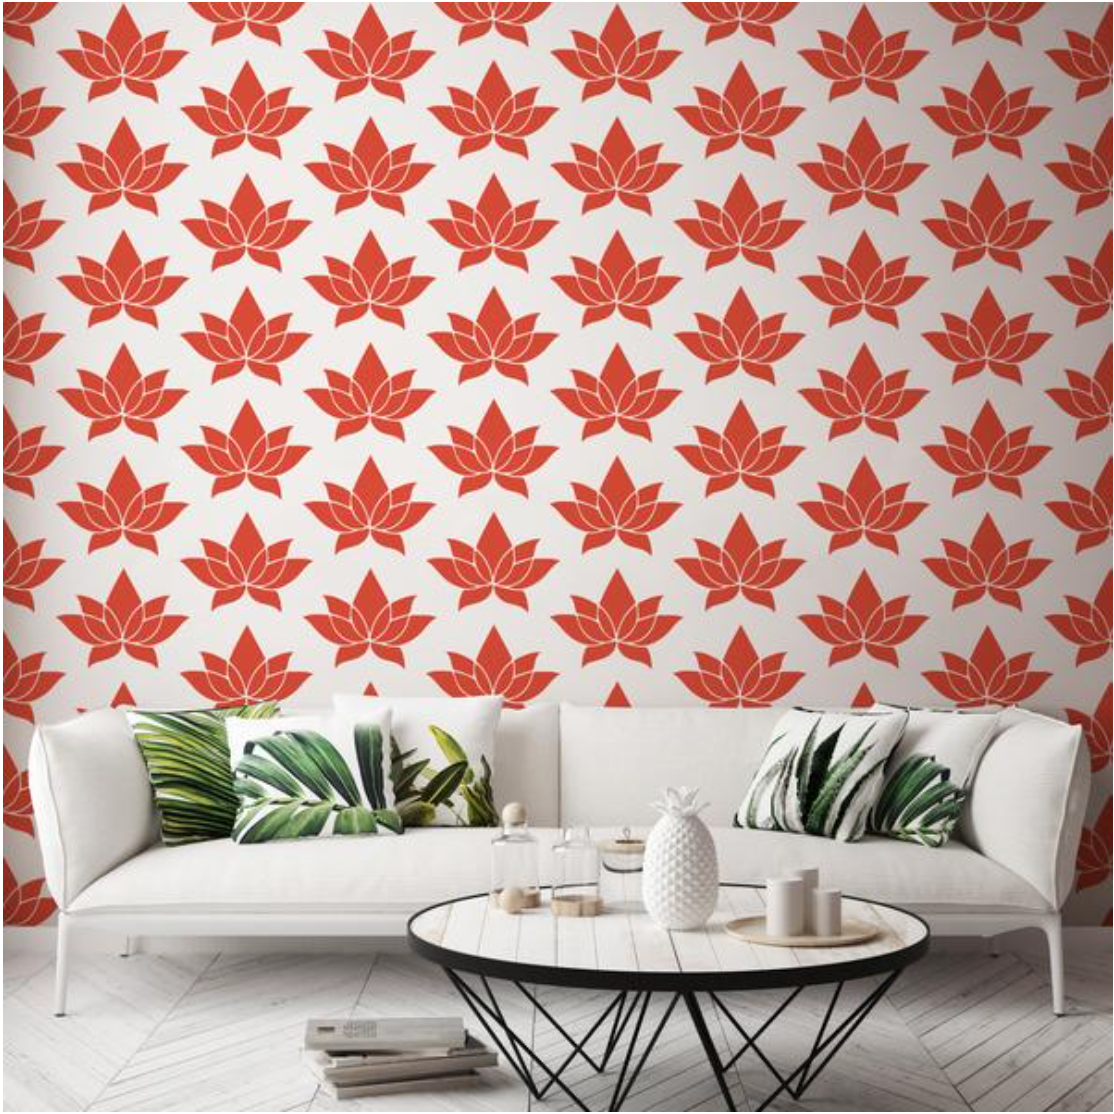
Nothing pulls your interior design together like a stylish wallpaper. With the right pattern, a wallpaper can help you achieve any style. At Mitchell Black, we offer a wide selection of diverse wallpapers to suit your needs. Whether your style is classic, modern, eclectic, or coastal, you’re sure to find a design you’ll love.
In addition to our type II vinyl and premium paper varieties, we also offer removable peel-and stick-wallpapers so you can quickly and easily switch it out in the future.


Leave a comment