
How To Prep Walls for Wallpaper
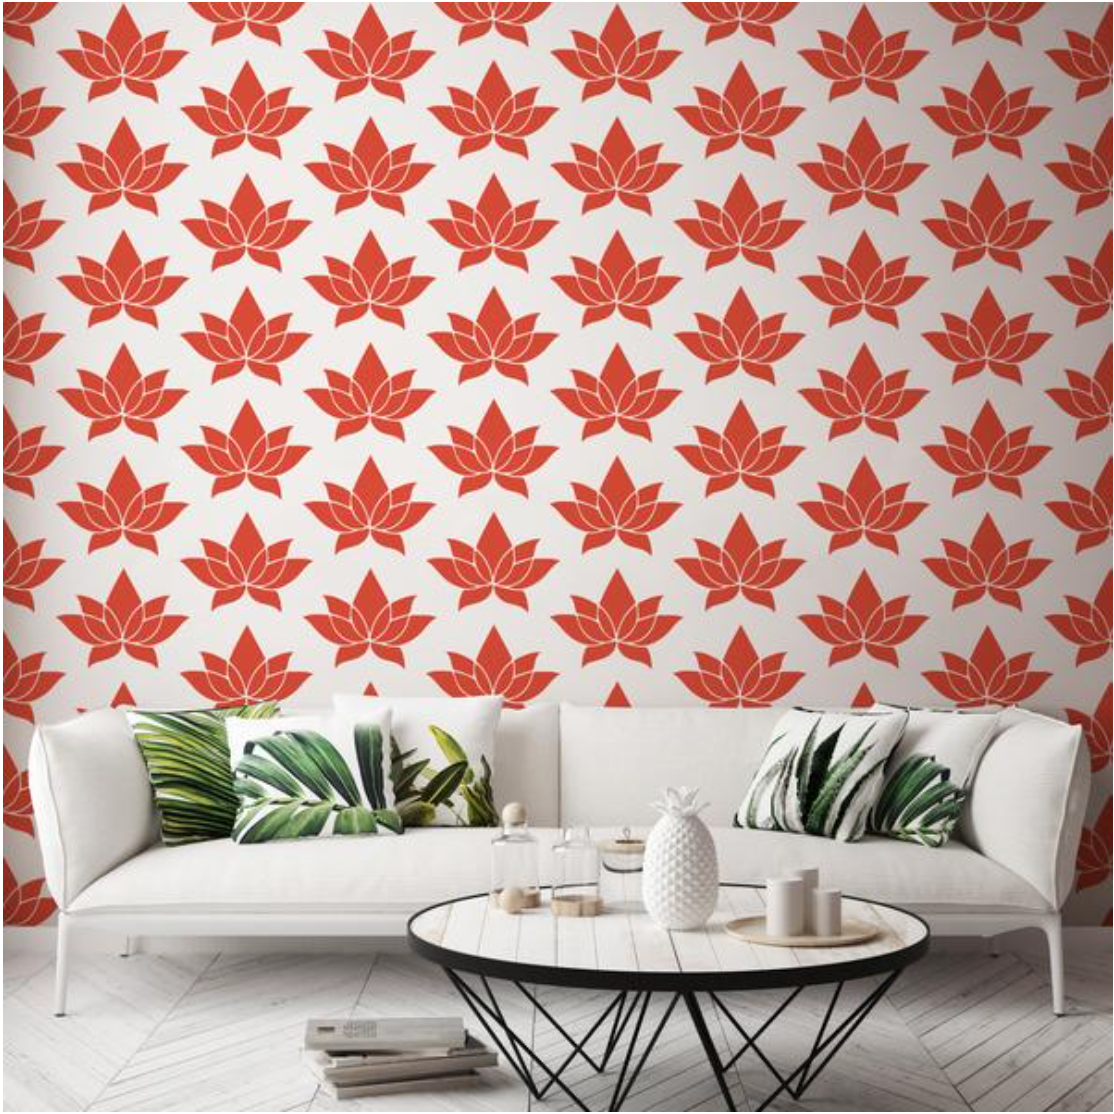
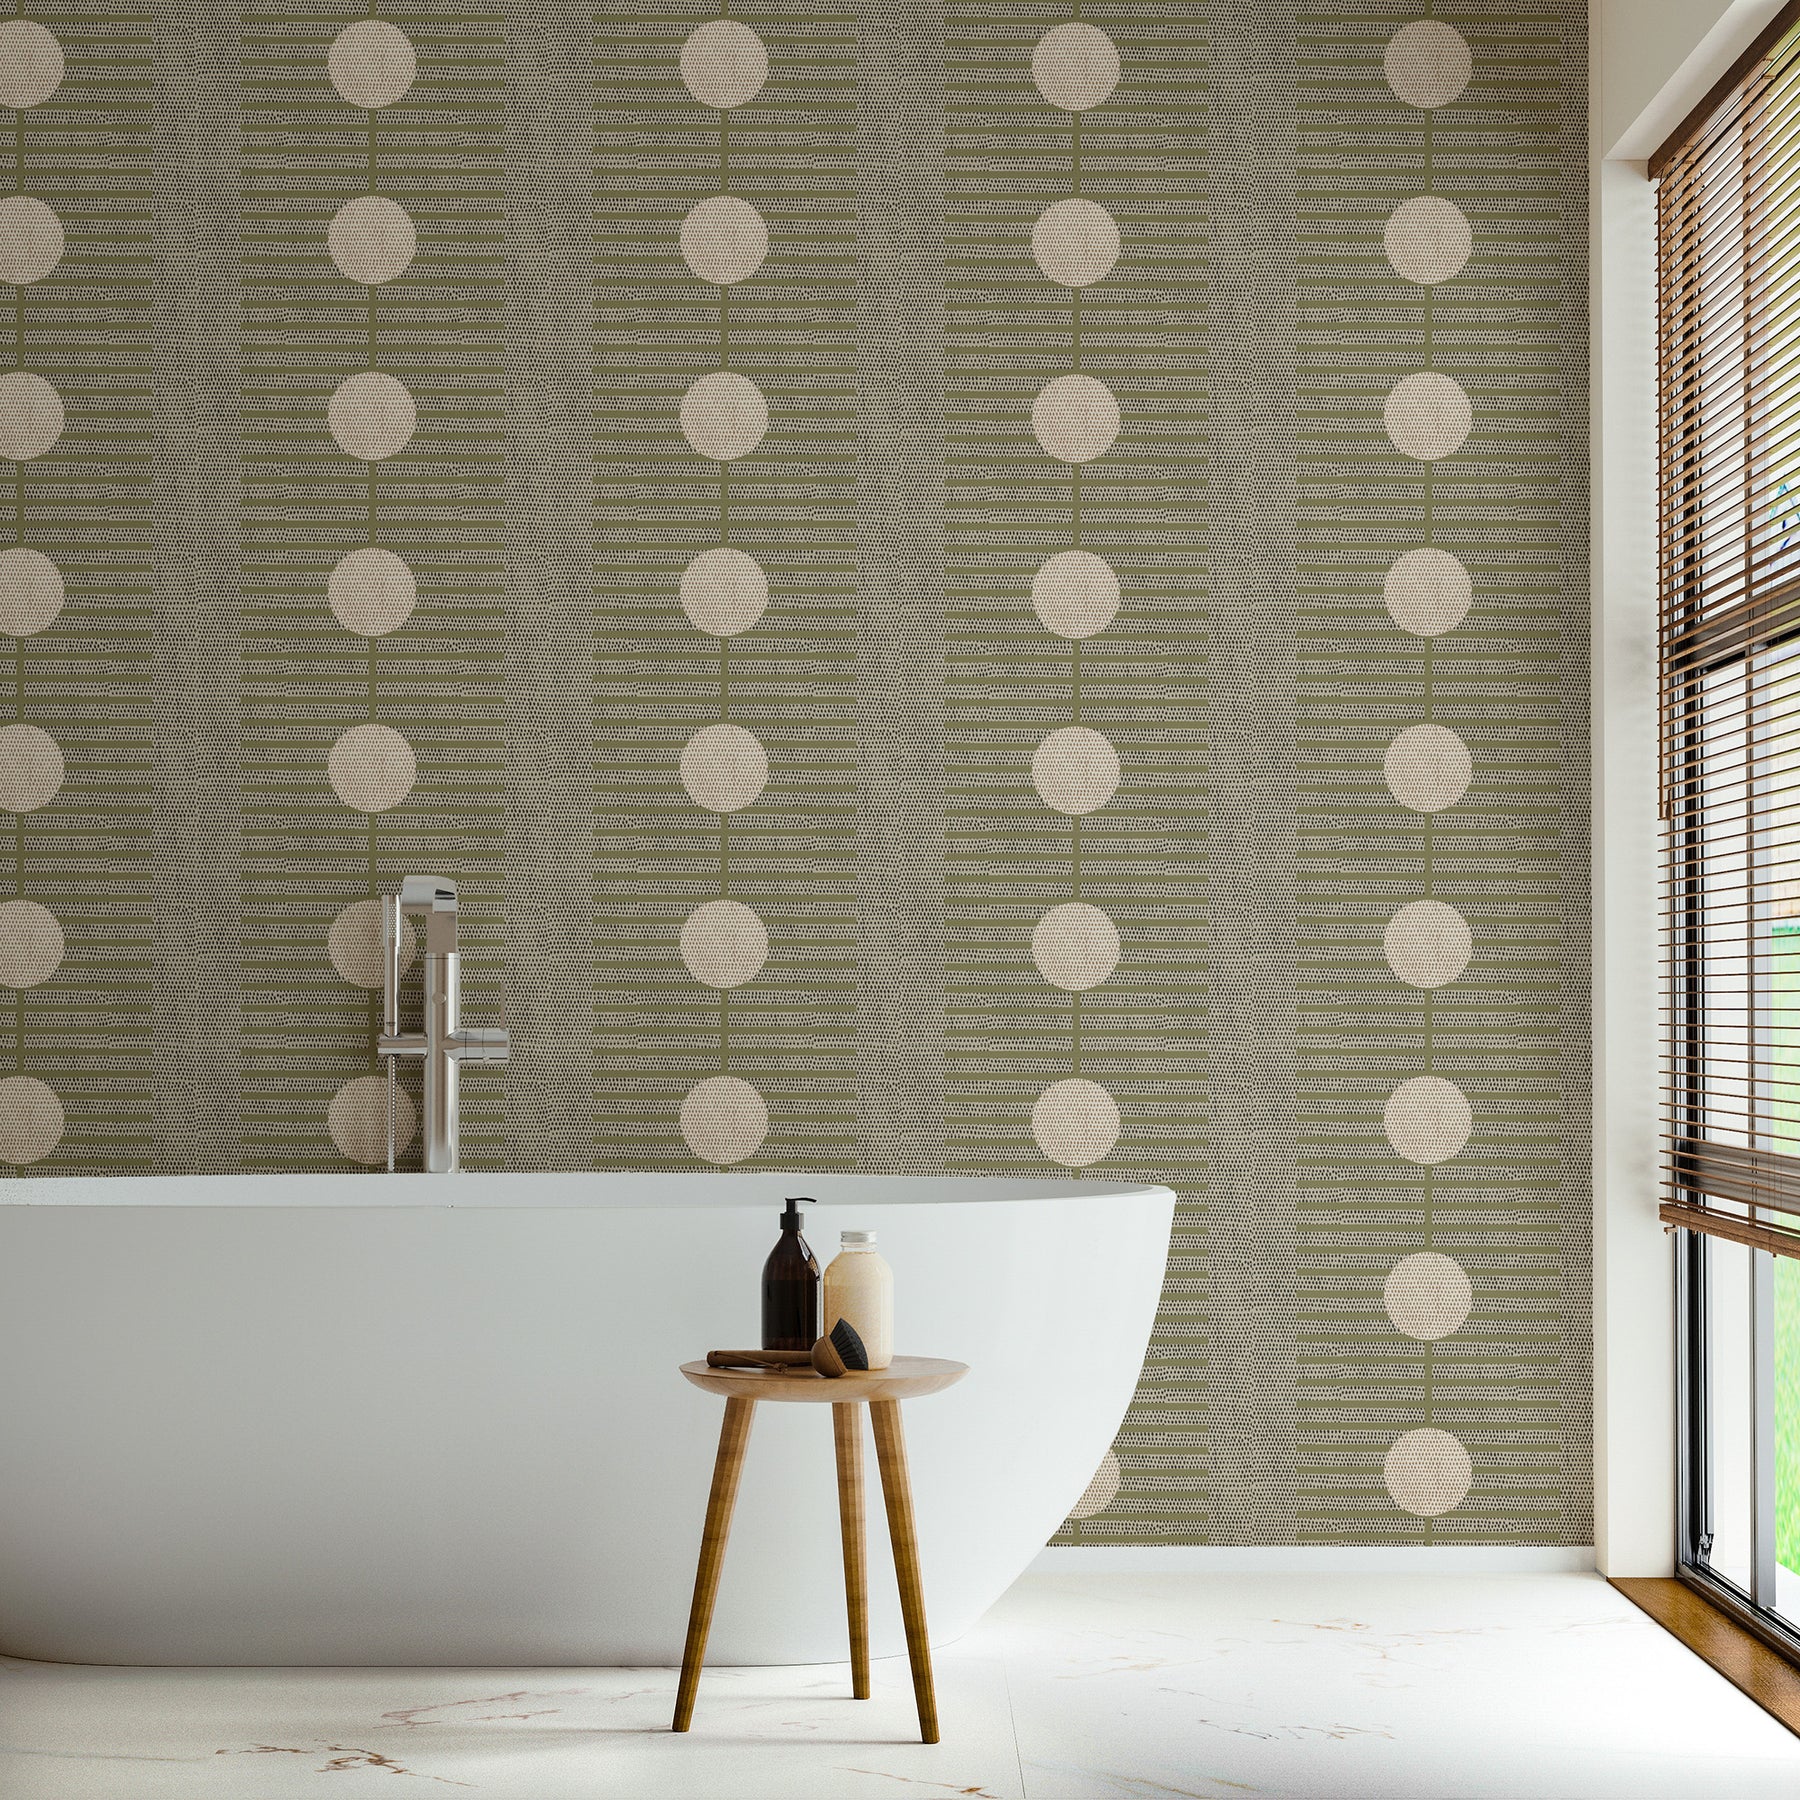
Wallpaper is one of the most transformative design elements you can use in your home. From classic floral patterns and textured designs to bold wall murals and geometric prints, the right wallpaper can act as the perfect finishing touch in your interior spaces.
But choosing a beautiful pattern is just one part of the process. You also need to prepare your walls properly to make sure your wallpaper looks good and lasts as long as possible. In this guide, we’re breaking down everything you need to know about how to prep walls for wallpaper.
Why Wall Prep Matters
Following the recommended steps before you apply your wallpaper takes a bit of extra time and effort, but it’s more than worth it. Prepping your walls helps to ensure a smooth and consistent appearance by preventing air pockets, lifting, and uneven application.
But wall prep doesn’t just make your wallpaper look better — it also helps it last longer. Proper adhesion requires a solid foundation, and strengthening your base can boost longevity, potentially adding 15 extra years to your wallpaper’s lifespan.
Step-By-Step Guide to Wallpaper Wall Prep
There are slight variations in how you should prep your walls depending on the type of wallpaper, such as peel and stick, vinyl type II, or grasscloth. But the basic principles remain the same.
For this guide, we’ll focus on how to prep your walls for traditional wallpaper.
1. Remove Previous Wallpaper (if applicable)
If you have old wallpaper on your walls, you should always fully remove it before applying your new one. Layering wallpaper often leads to bubbles, lifting, and discoloration. You want to make sure you have a smooth and clean surface to ensure the best adhesion possible.
To remove your old wallpaper without damaging the surface beneath it, start by lightly running a wallpaper scoring tool along the length of the wallpaper to create small holes. Then, you can use a steamer or warm water to loosen up the glue before slowly lifting the wallpaper up in small sections. Keep a damp sponge or soft rag handy to wipe away residue as you go.
2. Patch Holes
Any cracks or holes in your wall should be filled before you apply your wallpaper to make sure the design is smooth and free of distortion. Holes behind wallpaper can also leave it more prone to tears or rips down the line.
Simply fill the holes with a wall filler like spackle and use a putty knife to gently scrape away any excess product.
3. Smooth the Walls
Once the filler has dried, you can start sanding to remove texture. This step is especially important if your walls have deep grooves or bumps, as this can distort the design. While you can put wallpaper on textured walls, the best way to make your design last is to have as smooth a surface as possible.
4. Clean the Walls
Remove any debris before you start the installation process. Dust and oil can negatively impact the strength of your adhesive and lead to unsightly stains and bumps. To clean your walls, start by wiping the entire surface with a dry, soft cloth. Then, use warm soapy water to wipe it down and leave it to dry.
5. Apply Primer
Primer helps create a sealed, flat base for the wallpaper, which protects the wall from damage and improves grip. There are three main types of primer that can be used in different circumstances:
- Acrylic: For bare drywall and highly porous surfaces
- Oil-based: For sealing glossy paints
- Shellac: For stained walls and high-traffic areas
Once you’ve chosen your primer, you can use a paint roller or brush to coat the wall in a thin layer before leaving it to dry.
6. Apply Adhesive
Once your primer is completely dry to the touch, it’s time to apply an adhesive paste. Depending on the type of wallpaper and your preferred method, you can roll the adhesive directly onto the wall or coat the back of each wallpaper strip with a brush.
Keep in mind that not all types of wallpapers need a separate adhesive. For example, peel and stick wallpapers have a sticky backing, which allows you to directly apply it to the wall without a paste. It works a lot like a big sticker.
Most traditional wallpapers will bond with standard adhesives, but some construction-grade vinyl wallpapers require more heavy-duty glues.
7. Install Your Wallpaper
Now that your walls are fully prepped, you can start applying your wallpaper strips. Always take your time, lining up each strip carefully and using a smoothing tool as you go.
Common Mistakes To Avoid
If you’re taking the DIY route, it’s important to keep a few common pitfalls in mind. Here are some wall prep mistakes to avoid:
- Failing to clear the area around your wall: Always move furniture and décor out of the work area. You should also turn off the power and remove outlet covers.
- Not waiting for the primer to dry: Applying adhesive before the primer has fully dried can disrupt the seal.
- Not addressing wall damage first: A healthy, strong foundation is key to the longevity of your wallpaper. You should never apply a wallpaper without first addressing structural issues or water damage.
Refresh Your Space With A Mitchell Black Designer Wallpaper
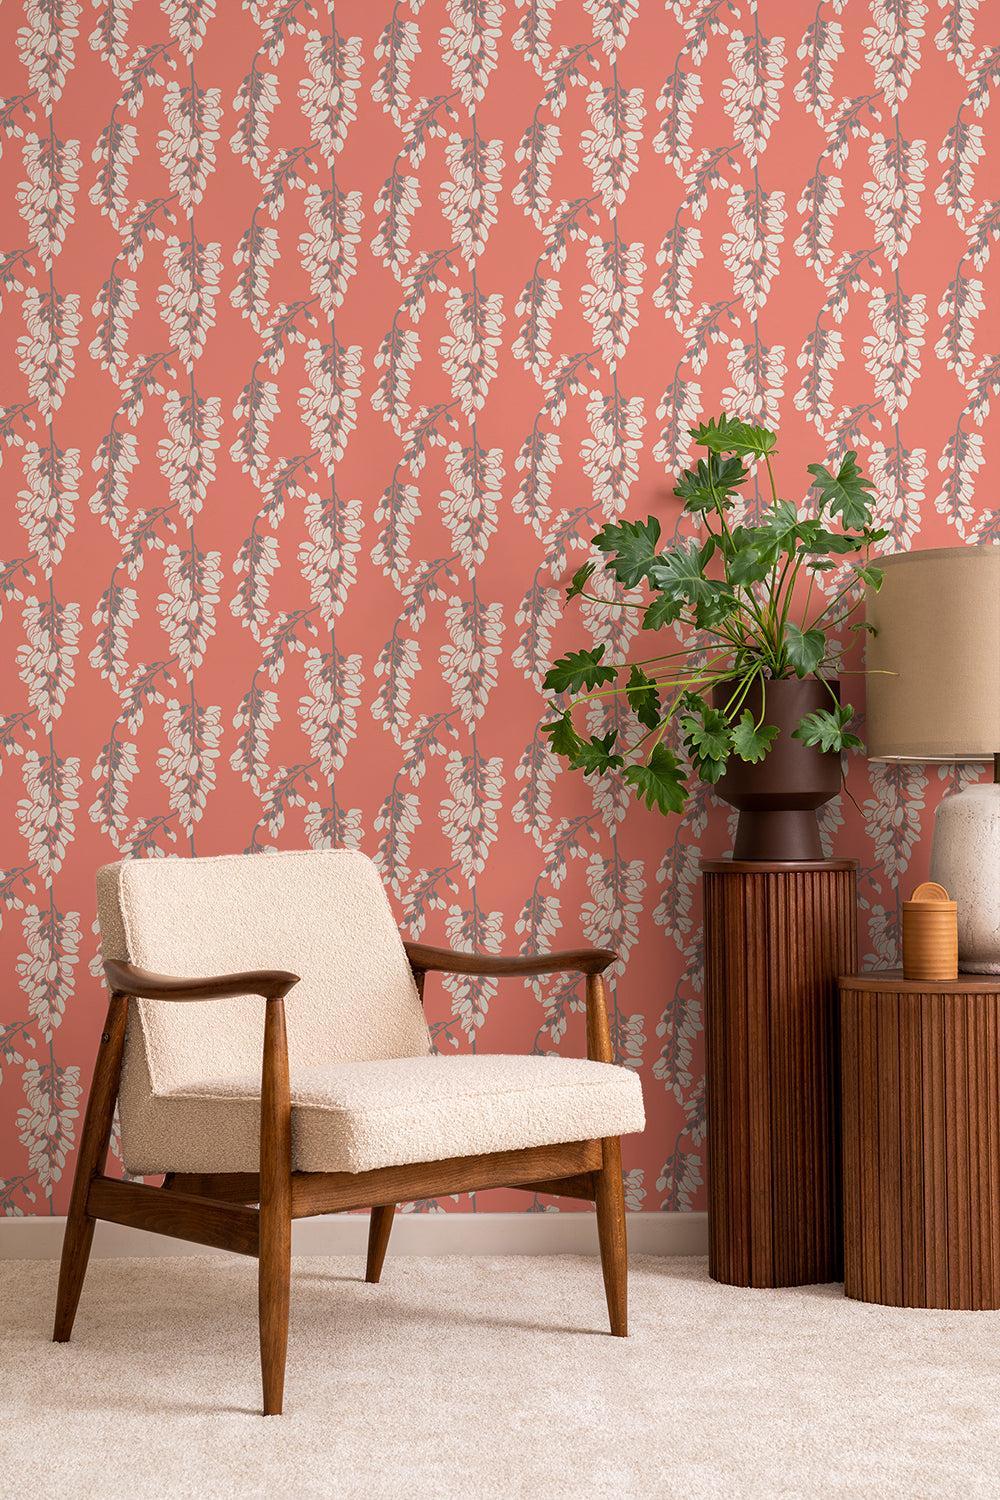
At Mitchell Black, we believe quality materials and beautiful prints should always go hand-in-hand. With a diverse wallpaper collection in traditional, peel and stick, type II vinyl, and textured grasscloth varieties, you’re sure to find the perfect wallpaper to elevate your space.
Browse our wallpaper collection and schedule a consultation via our concierge service to get one-on-one support.


Leave a comment