
How To Install Peel and Stick Wallpaper: A Step-By-Step Guide
Peel and stick wallpaper has revolutionized DIY home decorating, but it’s also popular among professional stylists and interior designers. It’s a convenient, fun, and mess-free way to completely transform a space and give it a whole new feel. It doesn’t take a lot of prep work, and it’s generally a lot easier to install than other options like painting or traditional wallpapering. But it’s still important to get the installation right.
In this step-by-step guide, we’ll explain why peel and stick wallpaper is such a great DIY option and walk you through the entire application process. Learn what tools you’ll need, how to prepare your walls, and how to install peel and stick wallpaper from start to finish.
What is Peel and Stick Wallpaper?
Peel and stick wallpaper is a type of wall covering designed for easy application. In contrast to traditional wallpaper varieties, which are typically applied using paste or water, peel and stick wallpaper comes with a self-adhesive backing on it. When you apply it, you simply peel off the protective layer and stick the wallpaper directly onto a clean, smooth surface like a wall or ceiling.
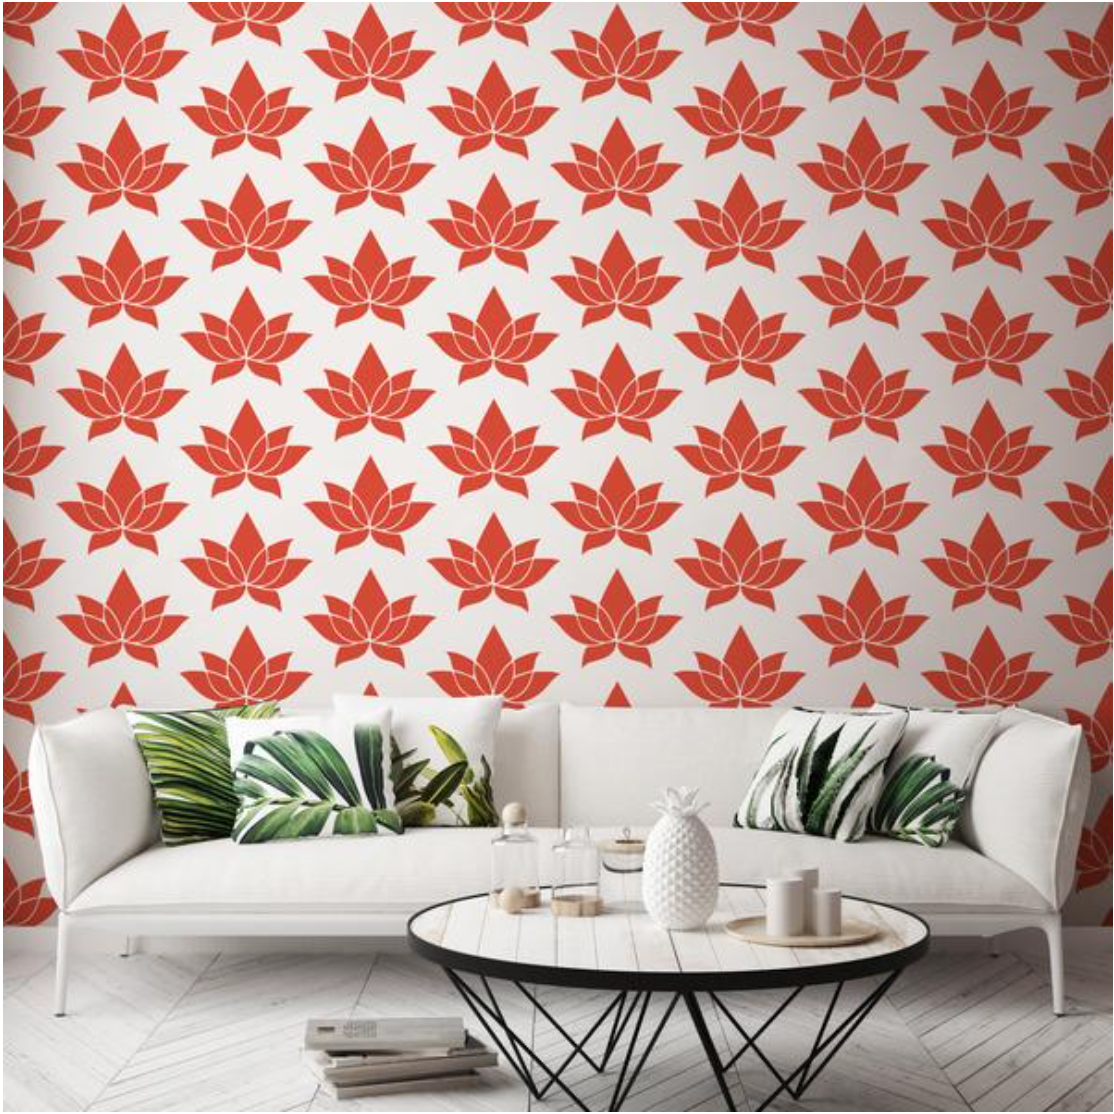
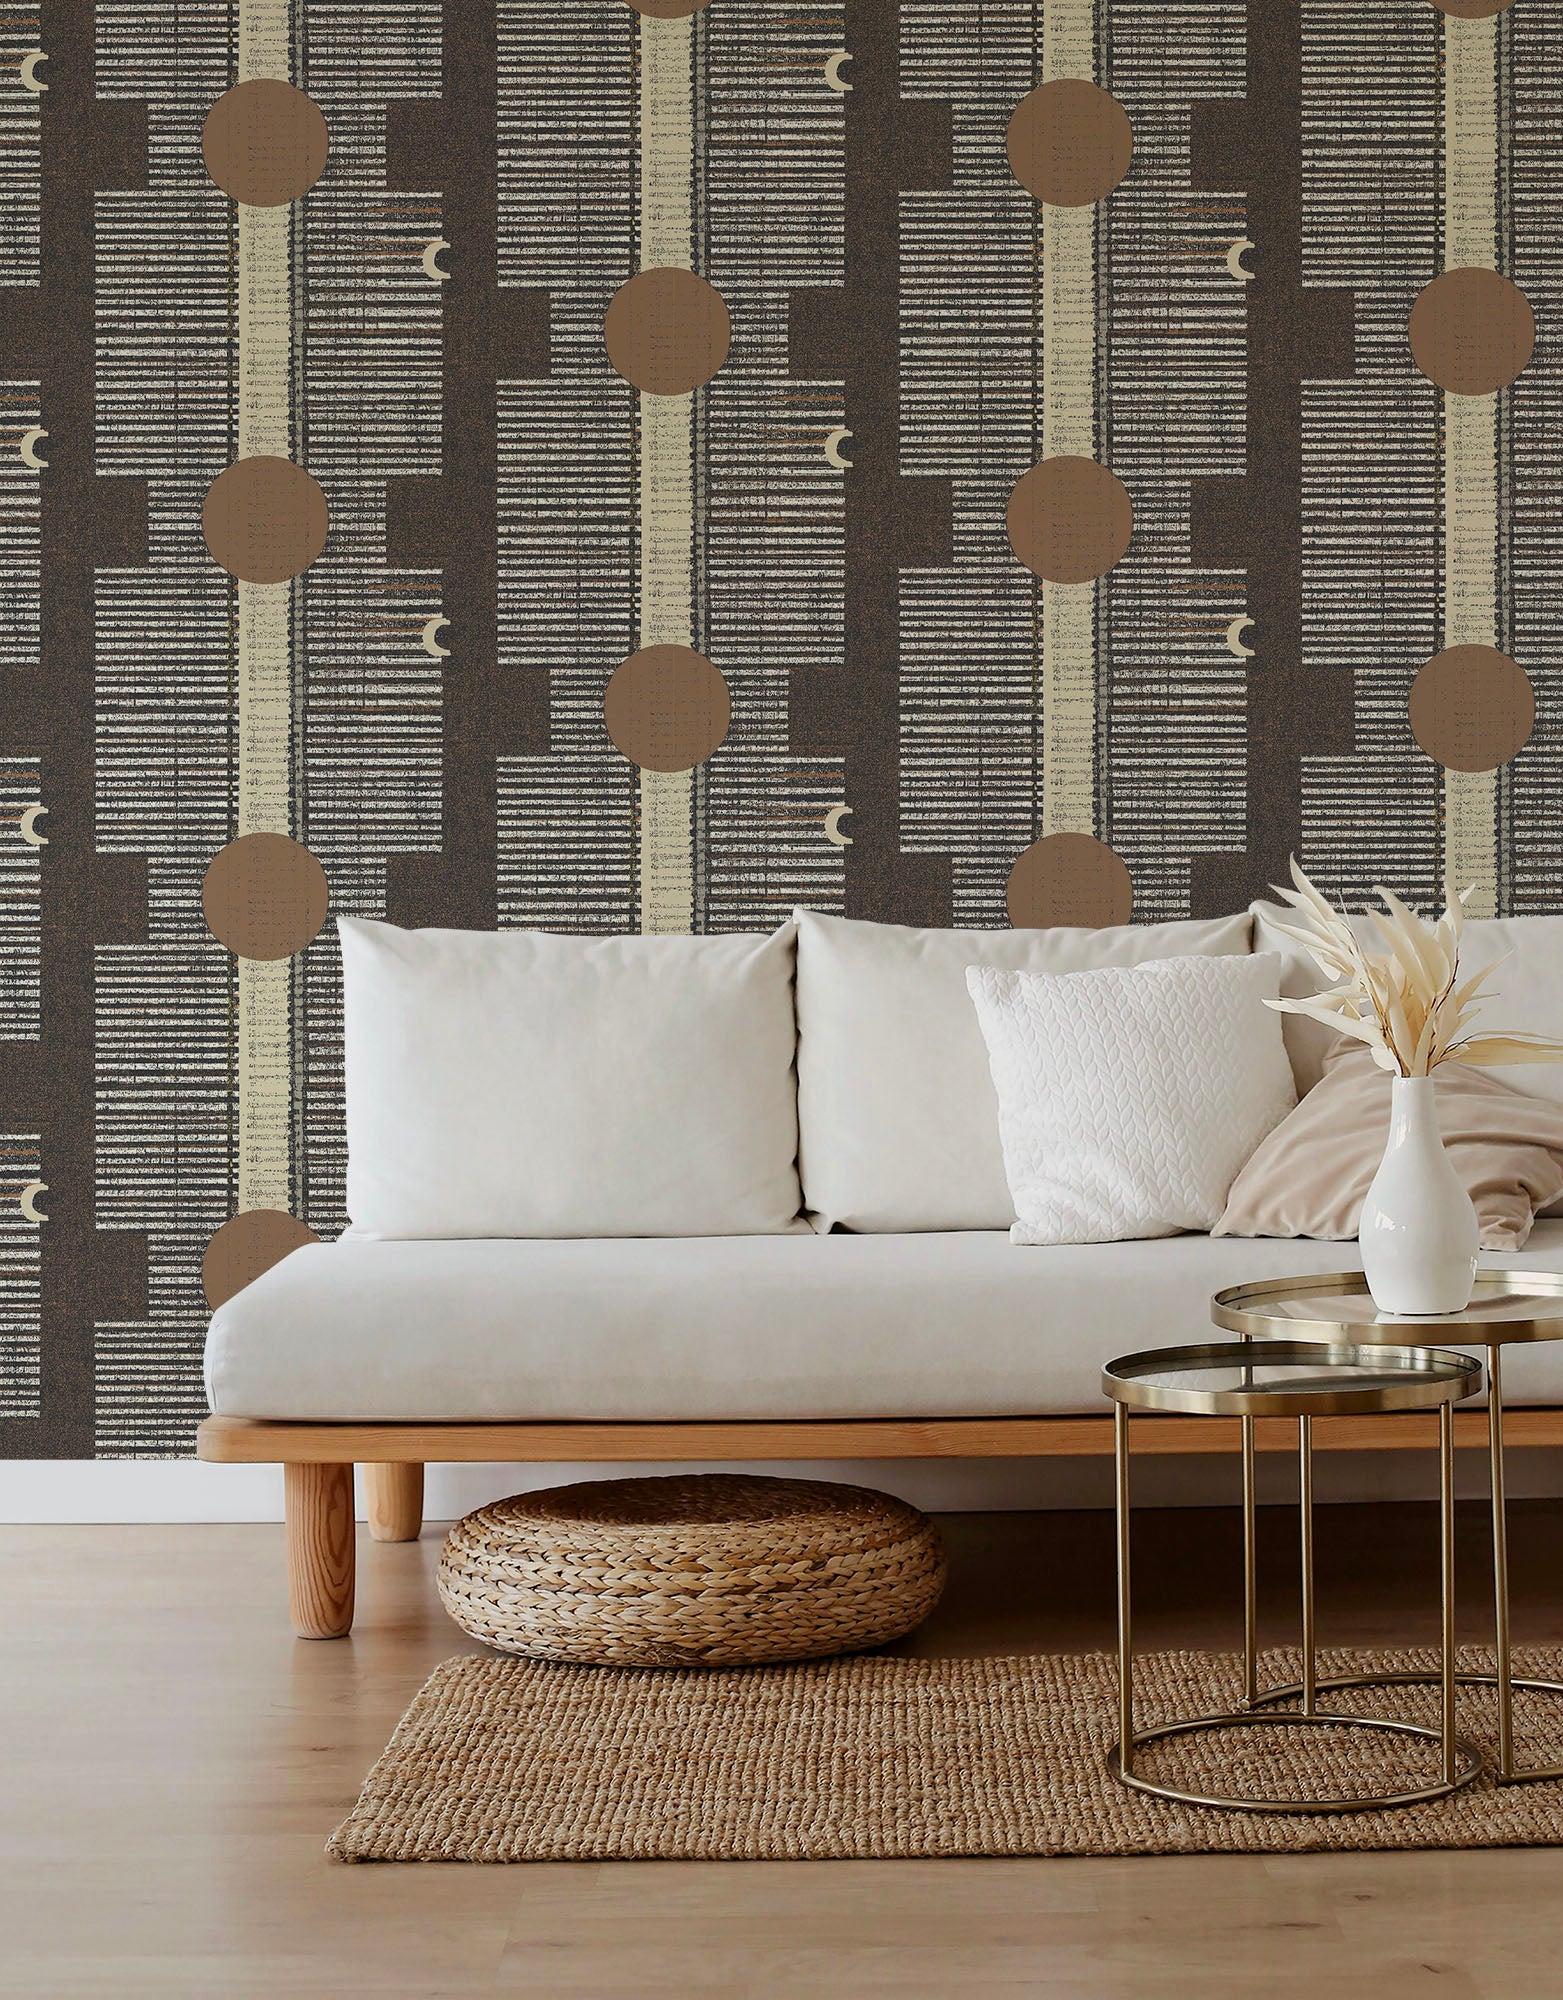
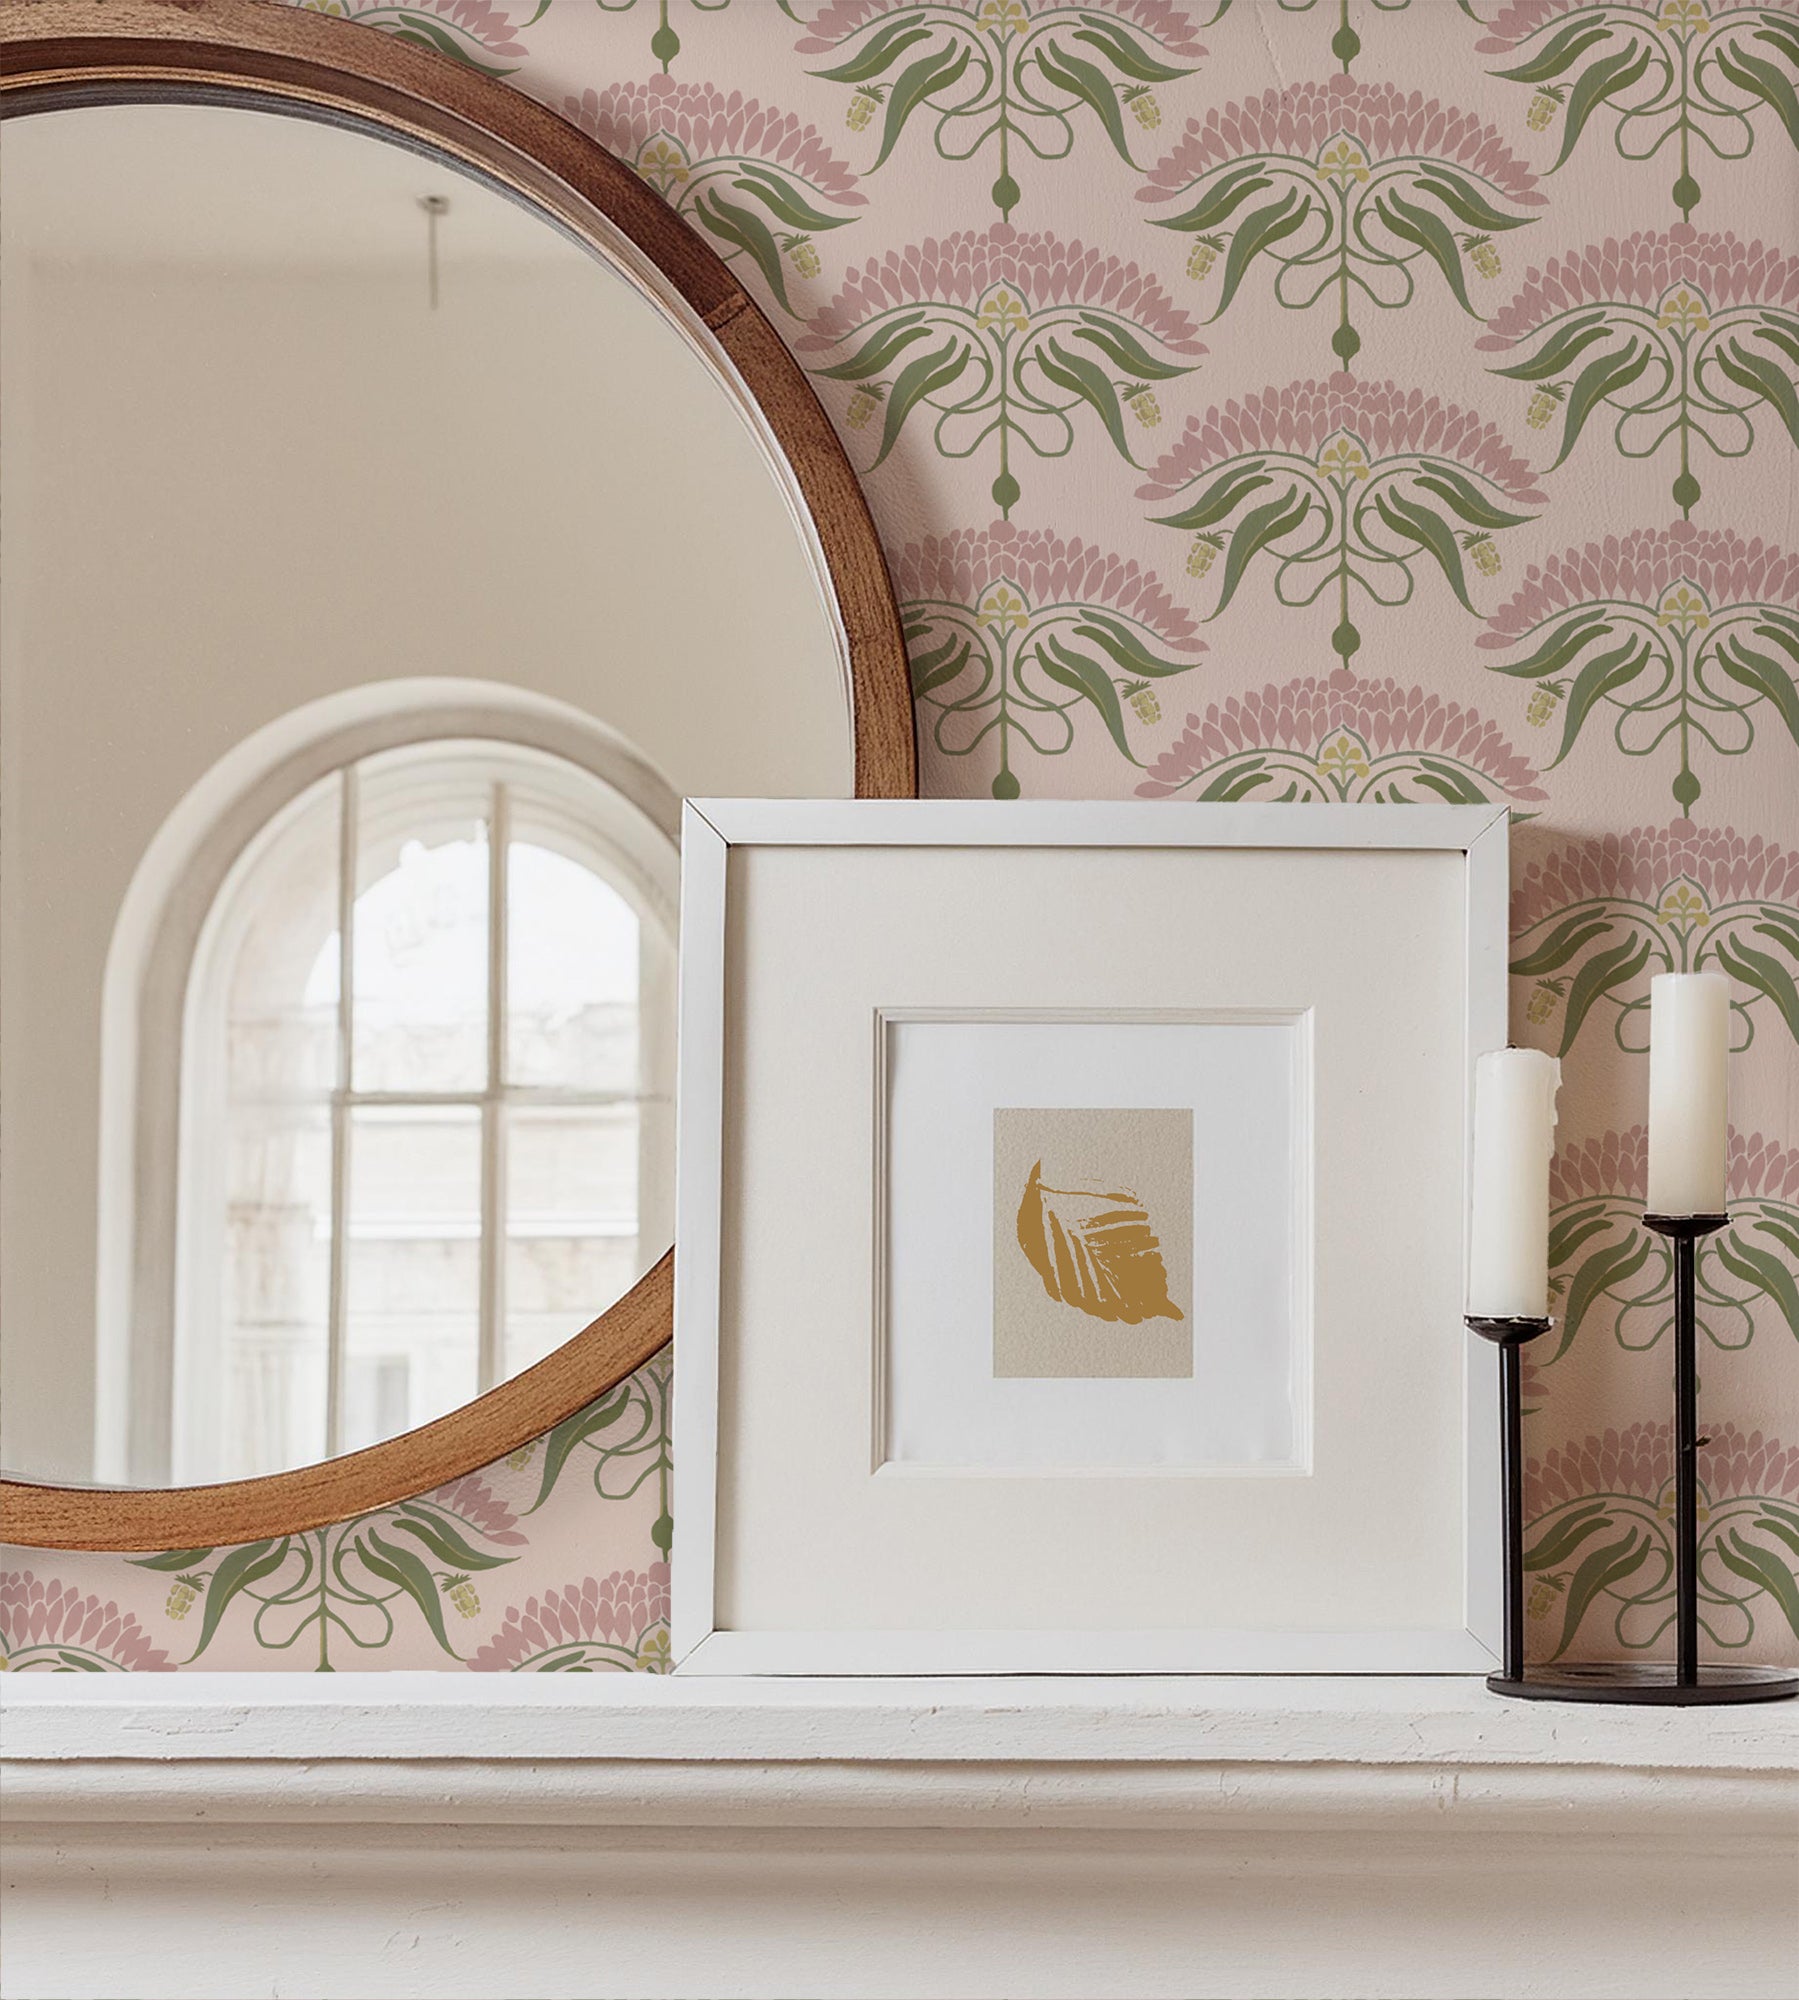
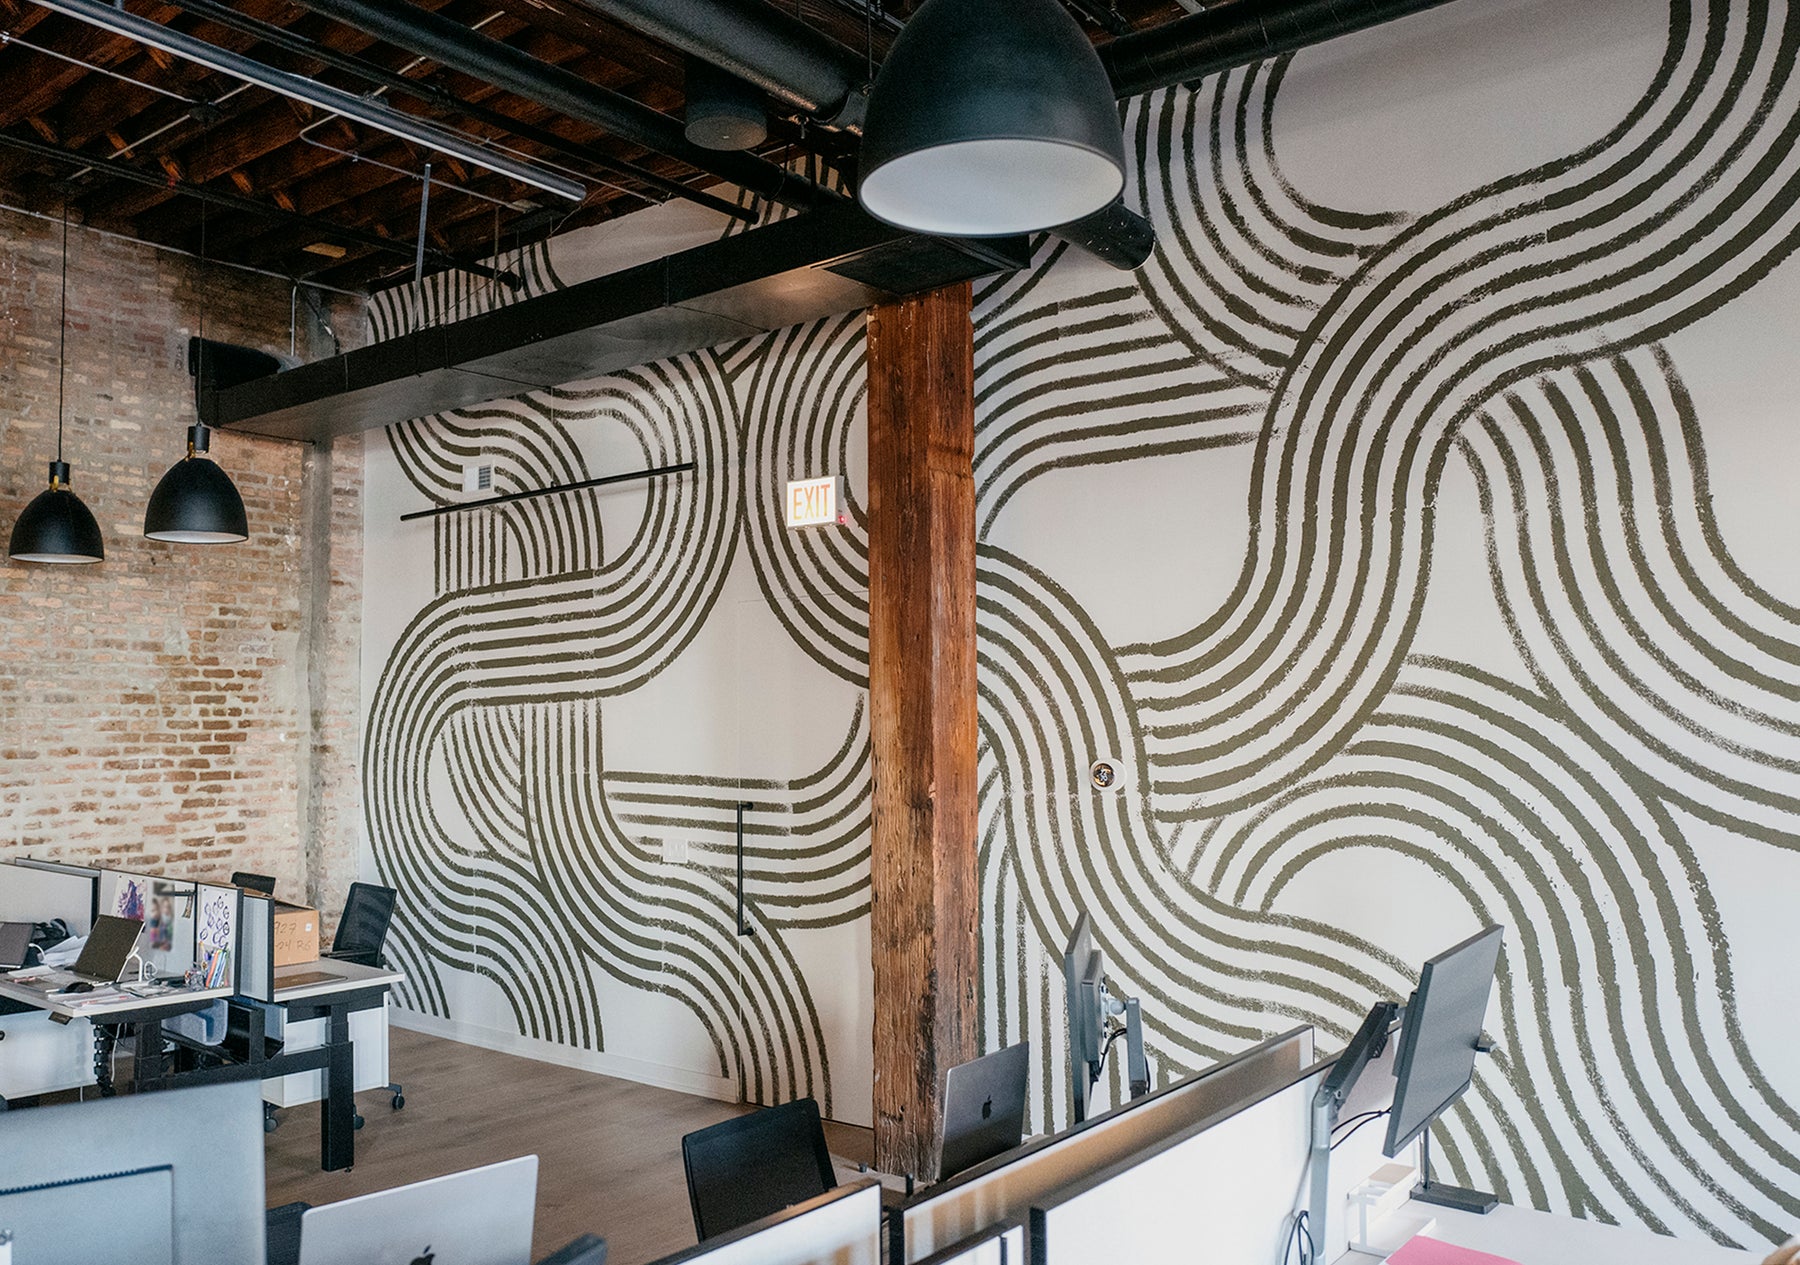
With well-crafted peel and stick wallpaper, you don’t have to sacrifice style or quality for the extra convenience. Choose from nearly endless patterns, color palettes, and motifs — and even faux grasscloth designs for a textured look — and enjoy styles that stand the test of time.
When To Choose Peel and Stick Wallpaper
Peel and stick wallpaper is so popular because it’s so versatile. It works for accent walls, in bedrooms and home offices, in kids rooms and nurseries, and just about any other place you can think of. Because replacing your peel and stick wallpaper is so much easier and less messy than repainting a room, it’s ideal for homeowners who like to change up their décor more frequently.
Here are a few reasons why you might want to opt for peel and stick wallpaper over paint or other types of wall coverings:
- You rent your space and you’re not allowed to paint
- You’re looking for a convenient, DIY-friendly option
- You want to avoid a messy application process
- You want to try out seasonal wall coverings
- You love patterns and character
- You want to make a big impact with less effort
Tools and Materials You’ll Need
Peel and stick wallpaper doesn’t require as much skill or as many tools as traditional varieties. But there are still a few materials that will make the process much simpler and help you get professional-looking results.
Before you start, collect the following tools:
- Peel and stick wallpaper rolls
- Sander
- Wallpaper primer (optional)
- Measuring tape
- Pencil
- Ladder
- Sharp utility knife
- Level or ruler
- Smoothing tool (you can also use a credit card)
Step 1: Choose Your Design
There’s a common misconception that peel and stick wallpapers have fewer design options than other materials. But removable wall coverings actually come in the full range of wallpaper designs, styles, and textures. To choose your design, consider the room’s size, lighting, and other décor elements.
As you browse wallpapers, consider using the view in my space tool and order samples to see what each design will look like before you buy.
Step 2: Prepare the Room and Surface
If you want to make sure your wallpaper lasts and looks seamless in your space, you need to properly prep the room and the wall. Start by moving furniture and décor out of the way to create a clean workspace. You should also remove any hardware like outlet covers or curtain rods.
You’ll want to have a smooth and clean surface to work with. Fix any holes or cracks prior to applying your wallpaper and gently sand down any texture. Then, use a soft rag or sponge to clean the surface with a mild detergent and water mixture.
Learn how to prep walls for peel and stick wallpaper with our in-depth guide.
Step 3: Measure and Plan
Taking accurate measurements of the target surface is critical. You don’t want to start applying strips only to realize halfway through that you didn’t order enough rolls. Measure your walls carefully and calculate how much wallpaper is necessary to cover the surface area. We recommend buying about 10% more material than you think you’ll need as a safety net.
Use a level and a pencil to draw straight lines from the top of your wall to the bottom. This helps ensure each strip is lined up properly.
Step 4: Cut Your Peel and Stick Wallpaper
Depending on the size of your strips, you may want to cut the wallpaper into smaller sections. Use your level and a utility knife to make accurate cuts. Leave some excess at the bottom to ensure you don’t end up with a piece that’s too short. You can remove this with your utility knife after it’s applied.
Mitchell Black’s peel and stick wallpapers come in pre-cut strips measuring 10 feet each, eliminating the need for excessive cutting.
Step 5: Apply the First Strip
Now that everything is prepped, it’s time to apply your first wallpaper strip. Start by peeling just a few inches of the protective backing off of the wallpaper, working in the top corner of the room and slowly moving down at an angle. Peel the backing off slowly as you go and use a smoothing tool to remove air pockets.
Step 6: Continue With Additional Strips
Keep working in the same fashion with your other strips. Just be sure to line up each strip carefully to prevent any gaps or misalignment in your design.
Step 7: Apply Finishing Touches and Clean Up
After you’ve applied your wallpaper to the entire surface, take another look to smooth out any bubbles you missed. Then, use your utility knife to cut off excess material along the sides and corners.
Find Your Perfect Peel and Stick Wallpaper for Fast and Easy DIY Installation
Peel and stick wallpaper is truly a game-changer in the interior design world. Whether you’re a homeowner, renter, or professional decorator, the convenience and ease of peel and stick is unmatched.
At Mitchell Black, we have an expansive collection of peel and stick wallpapers you can use to completely revamp your space. Each wallpaper roll is proudly made in the USA with premium materials to give your walls an upscale look and feel.
Shop our collection and set up a consultation with our concierge service to speak to a design expert.


Leave a comment